(i) After you install the translation plugin once, you can receive upgrades directly from the WordPress administration dashboard.
First time installation
The first time you use the translation plugin, you'll need to manually download it and install it.
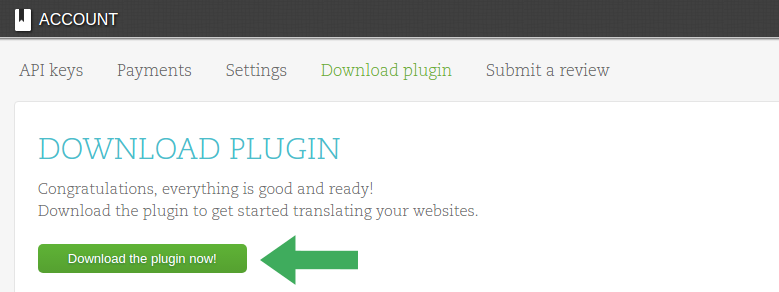
- Log in to your account.
- Go to the downloads page.
- Download the plugin. You will receive a ZIP file.
- Log into your site and in the WordPress administration dashboard, go to the plugins page and add a new plugin.
On the next page, upload the ZIP file that you downloaded and install it.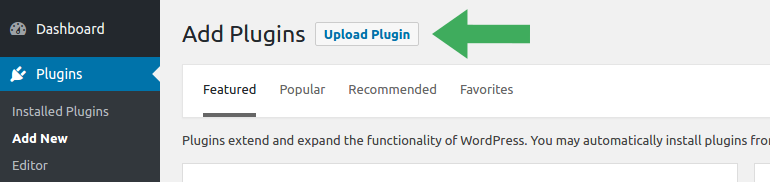
Alternatively, if you cannot upload plugins directly to WordPress:
- Unzip the ZIP file on your computer. A folder will be created: prisna-wp-translate
- Upload the unzipped folder to your site's folder: /wp-content/plugins/
- Go back to the plugins page and enable the newly added plugin.
- A new menu entry will be available: Plugins > Prisna Translate
Automatic updates
As of version 1.9, the plugin can be automatically updated directly from the WordPress administration dashboard.
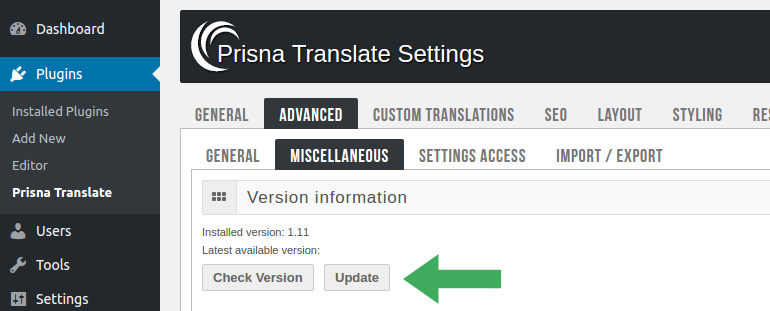
If you don't see the above panel, it means that you are using an older version that didn't have it yet. No worries, see below how to manually update it.
Manual updates
In case you're using the plugin version 1.8 or an even older version, you'll need to manually update it.
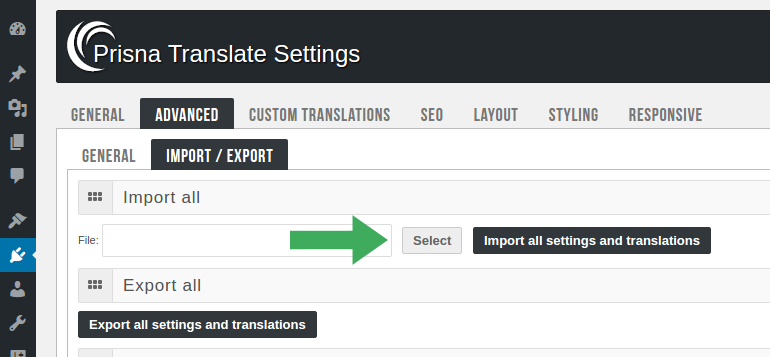
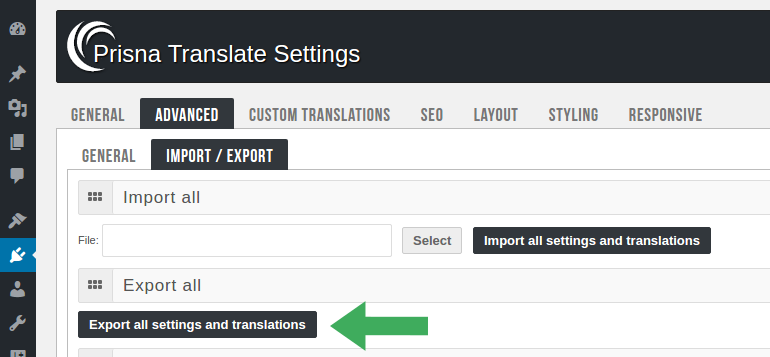
- Make a backup of the current settings and translations.
- Go back to the plugins page and deactivate and delete the plugin.
- Proceed with the plugin installation as described in above.
- Import the settings and translations from the backup.